November 19, 2026 · 15 min read
Microphone for Captions: What to Use and Where to Put It
Pick the right microphone for live captions at church, events and meetings: speaker setups, placement, distance, testing and a QR code workflow.

The best microphone for live captions is one that sits close to the speaker’s mouth, picks up one voice, and feeds clean audio to the phone or laptop running your captions. For a pastor, presenter or emcee, that usually means a lavalier (clip-on) or headset mic. Captions can only be as accurate as the audio they hear. With Live Caption AI, the speaker runs the app on a phone or laptop and attendees scan a QR code to read captions on their own phones. No app to install. No hardware to rent. No stenographer to book. The microphone is the one piece of the chain you control.
TL;DR
- Distance matters more than price. Keep the mic close to the speaker’s mouth, about 6 to 12 inches for a lavalier or headset.
- One speaker: use a lavalier or headset mic. Panels: one mic per person. Audience questions: a handheld you pass around, or the speaker repeats the question.
- Avoid relying on a built-in laptop mic or a phone across the room. Both are far from the voice.
- Test in the real room, with the real crowd noise level, before people arrive.
- Live Caption AI runs from $19.99 a month on the Professional plan, and session audio is never stored.
Table of Contents
- Why the microphone decides caption accuracy
- Choose the microphone by who is speaking
- Can a phone’s built-in microphone work?
- Connect the mic to your captioning device
- What a good captioning microphone looks like
- Room noise, echo and distance
- A pre-event checklist you can finish in 15 minutes
- Names, scripture and jargon: set up before you go live
- Multilingual events: one clean source, one target language
- Perspective
- Put it to work with Live Caption AI
- FAQ
- Sources
Why the microphone decides caption accuracy
Speech recognition works on the sound it receives. If the voice is faint, echoey or buried under room noise, the words come out wrong, no matter how good the software is.
The American Speech-Language-Hearing Association (ASHA) explains that live-caption accuracy depends on the speaker’s pitch and the quality of the speech signal relative to background sound. In their tests of mobile caption apps at 5 and 10 feet, with background noise at talker volume or 10 dB below, accuracy for the top app dropped by almost 30% as distance and noise changed. The takeaway they draw is simple: keep talkers close to the microphone and limit background noise.
That is good news for you. Distance and noise are things you can fix with a $20 to $100 microphone and ten minutes of setup. You do not need a studio.
Choose the microphone by who is speaking
The right mic depends on the speaking situation. Here are the three you meet most often at churches, conferences and classes.
One speaker: lavalier or headset
A pastor, keynote speaker or instructor who moves around needs a mic that moves with them. The U.S. Access Board recommends a lapel or lavalier microphone as an alternative to a podium mic for a single talker in a large space such as a lecture or sermon. It also notes that speakers at a podium often drift away from the mic as they go on, which is exactly when captions start to slip.
Canyons College’s captioning handbook suggests USB headset microphones for home or office use and lavalier mics for movement, positioned 6 to 12 inches from the mouth.
What that means in practice:
- Clip-on lavalier: best for walking speakers. Clip it to a collar or lapel, centered on the chest or just below the chin line, so the voice stays at a steady distance.
- Headset mic: best for speakers who turn their head a lot, such as worship leaders, teachers and fitness instructors. The mic stays at the mouth.
- Podium mic: fine for speakers who stay put. Set it close and remind the speaker to stay near it.
Panels and group discussions
The Access Board recommends individual close-by microphones for each panel participant, normally off and activated by sound or a switch. One mic per person keeps each voice near its own microphone and keeps the captions readable when people talk in turn.
If you put several mics on one table, mind the 3:1 rule. No microphone should be closer to another mic than three times the distance between a speaker and their own mic. A lav 12 inches from the mouth means the next mic should be at least 36 inches away. The same article notes that a single mic on a table or podium can suffer interference from reflections, which you fix by moving the mic closer to the speaker or off the hard surface.

Audience questions
Questions from the floor are where captions most often fall apart. The speaker’s mic cannot hear someone ten rows back. Penn State’s live-captioning white paper recommends one microphone for the main speaker plus additional microphones for audience questions. If you only have one, pass it along or have the speaker repeat each question before answering.

The Access Board adds that a wireless microphone should be available for audience use when participation is expected.
The repeat-the-question habit costs nothing, and it helps everyone in the room, including people who are deaf or hard of hearing and anyone who is simply seated far from the questioner.
Can a phone’s built-in microphone work?
Sometimes, in the right conditions. A phone held close to a single speaker in a quiet room can hear well. The trouble starts with distance.
A phone’s mic is designed for a voice a few inches away. Put the phone on a pulpit or a table, and the speaker steps back, turns, or the room fills with sound, and the voice reaches the mic weaker and mixed with echo. ASHA’s tests showed how quickly accuracy falls as distance grows from 5 to 10 feet. The same logic applies to laptops. Canyons’ handbook advises avoiding built-in laptop microphones when possible.
A simple rule of thumb:
| Situation | Built-in mic OK? | Better choice |
|---|---|---|
| Small meeting, speaker within arm’s reach of the device | Usually | Keep the phone close, in front of the speaker |
| Classroom, speaker walks around | Rarely | Lavalier or headset mic |
| Sanctuary or hall with a sound system | No | Feed from the sound system or use a lav |
| Panel or roundtable | No | One close mic per speaker |
So the answer is: use the built-in mic when the speaker is close and the room is quiet. For anything larger, give the speaker a dedicated mic.
Connect the mic to your captioning device
There are three common ways to get a voice to the phone or laptop running your captions.
- Wear it, then plug in. A wired or wireless lav or headset mic connects to the phone or laptop the speaker is using. This is the simplest route for a single speaker.
- Take a feed from the sound system. If your venue already has a mixer and a speaker mic, the cleanest audio often comes from there. Berkeley’s accessible events checklist recommends plugging the captioning laptop into the venue speaker system that controls the presenter’s microphone, so the captioner receives internal audio instead of ambient noise.
- Place a device in front of a loudspeaker. Los Angeles’ Department on Disability advises testing the placement of a tablet or microphone in front of the loudspeaker when a speaker system is already in place. It is a fallback, not a first choice, since room sound adds echo.
AV teams running multilingual events will recognize option two as the standard routine: one clean mixed feed from the speaker’s channel, not a room mic picking up everything.
Whichever route you pick, keep the speaker’s voice as the loudest, clearest thing the device hears.
What a good captioning microphone looks like
Vendors who build speech recognition publish the properties they want. Corti’s documentation for dictation lists a directional pickup pattern focused on one speaker, a recording distance of 10 to 20 cm from the mouth, a stable wired connection, and consistent gain levels with minimal automatic processing. For capturing several people in a room, it recommends a beamforming microphone array with a far-field range of 1 to 3 meters and background noise below about 40 dBA.
Translated into a shopping list:
- Cardioid or directional pattern. It hears the person in front of it and rejects the sides and rear.
- Close placement. Closer beats pricier.
- A stable connection. A wired mic or a good wireless one with fresh batteries. Dropouts mean missing words.
- Steady levels. Set the volume so loud moments do not clip and quiet ones are still clear.
- Reliable battery. Penn State notes its wireless USB mic gives roughly eight hours per charge with about 65 feet of range, and should be fully charged in advance, each evening for multi-day events.
You do not need to understand audio engineering to apply this. Pick a directional lav or headset, set it up close, and check the level.
Room noise, echo and distance
Microphones capture the room as well as the voice. A few things you can fix:
- Hard surfaces. Bare walls and floors create echo. A close mic reduces how much of that echo it hears.
- Crowd and HVAC noise. Switch off or turn down fans and projectors where you can. Seat the loudest groups, such as children’s areas, away from the speaker’s mic.
- Speaker distance. Remind speakers to stay near their mic. At a podium, this is the most common failure.
- Music and worship bands. If music plays, captions of spoken words will suffer. Plan to start captions when the speaking portion begins, and keep the speaker’s mic level above the band’s bleed.
The goal is not silence. It is a clear voice louder than everything else the mic can hear.
A pre-event checklist you can finish in 15 minutes
Berkeley’s checklist asks organizers to gain early venue access to set up and test equipment and to require that every speaker use a microphone to be captioned. Canyons’ handbook prescribes testing and positioning audio equipment and verifying captions are enabled before the meeting starts. For clear-audio habits that carry across settings, this guide to recording clear audio at ceremonies covers mic placement for speech in busy rooms.
Here is a routine built from those points:
- Arrive early. Give yourself access to the room before attendees.
- Charge or swap batteries. Pack spares for wireless mics.
- Put the mic on the speaker. Lav at the chest, headset at the corner of the mouth, 6 to 12 inches away.
- Speak a test paragraph. Use the same volume the speaker will use on stage.
- Walk the room. Stand at the back, scan the QR code with your own phone and read the captions as they appear.
- Check names and terms. Say the names, places and key terms the speaker will use and see how they appear.
- Check the level. Make sure loud passages do not distort.
- Decide who handles questions. Pass-around mic or repeat-the-question rule.
- Keep a spare. A second mic and fresh batteries within reach.
This takes a team member about 15 minutes. Do it every time. A mic that worked last Sunday may have a dead battery this Sunday.
Names, scripture and jargon: set up before you go live
A good mic gets the sound in. Vocabulary decides whether the software knows what it heard. Live Caption AI offers a Worship & Ministry model, a Medical model and a Finance & Earnings model, and lets the speaker type in up to 100 Custom Terms before going live: names, places and specialized words. A church can add its pastors’ names, the city, and ministry names. An event team can add its sponsors and speaker names.
That pairs well with a well-placed mic. Clear audio plus the right vocabulary is how you get captions that people can actually follow.
Multilingual events: one clean source, one target language
For AV companies and organizers serving mixed-language audiences, the microphone matters even more, because translation works from what was recognized. If the first-language words are wrong, the translation will carry the error.
Live Caption AI translates into one of 34 languages per session. The speaker picks one source language and one target language, and viewers can switch between the original and the translation on their own phones. For a room with several languages, you plan one session per target language, each fed by the same clean mic.
A few tips:
- Ask the speaker to talk at an even pace and finish sentences.
- Keep the mic close so the source language is as accurate as possible.
- Add names and terms as Custom Terms before the event.
Perspective
We built Live Caption AI around one idea: the people in the room should not need anything extra to follow along. No app to install, no account, no rented hardware. A QR code puts live captions on every phone in the room.
The microphone is the one place we always tell people to spend a little thought. A speaker who stays close to a decent mic gives the software its best chance. Add the vocabulary models and up to 100 Custom Terms, and names and specialized words come through far more reliably than generic speech-to-text manages.
For churches and small event teams, that is the affordable path. A Professional plan at $19.99 a month, a clip-on mic and fifteen minutes of testing replace a lot of cost and scheduling. We are an AI captioning tool, and an organization can use it as part of its ADA effective-communication plan, alongside the other steps that plan includes.
Every session’s transcript is saved automatically to the speaker’s account. Only the speaker can read it, and the speaker can delete it from History at any time. Session audio is never stored.
Ryan
Put it to work with Live Caption AI
Here is what you get when the mic is set and you go live. The speaker runs Live Caption AI on a phone or laptop. Attendees scan a QR code and read captions on their own phones. You can see how many users joined your link, add outside links that appear within the receiving URL, and export transcripts as TXT, SRT, JSON or PDF. AI summaries are included.
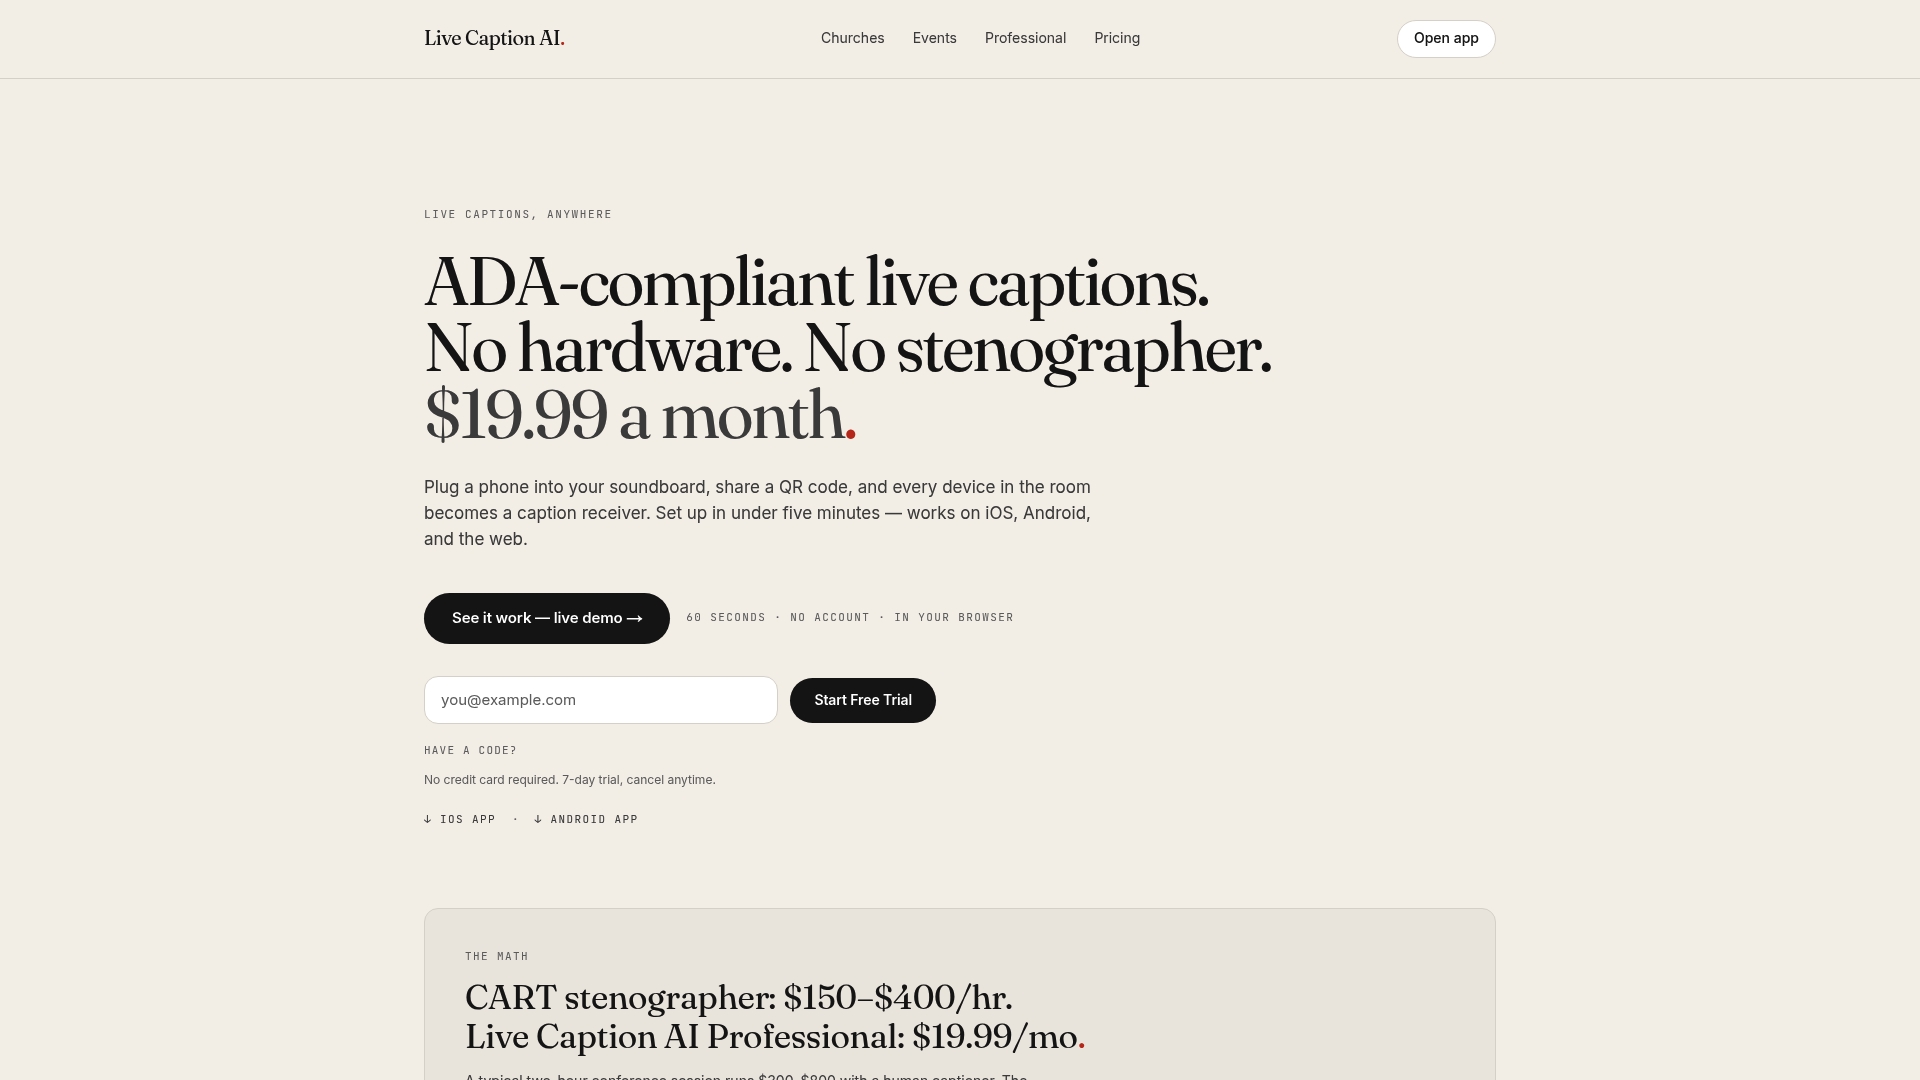
The Professional plan is $19.99 a month with unlimited captioning and summarization. There is also a Free plan, and the Business plan starts at $199 per month. For translation, one-off credit packs are available: 30 credits for $6.99, 60 for $11.99, and 120 for $19.99. See the pricing page for details, or read how event captions work with cloud live transcription via QR. Ready to try it in your room? Explore Live Caption AI.
FAQ
What is the best microphone for live captions in a church?
A lavalier or headset mic for the speaker is the usual choice, because it stays at a steady distance from the mouth even when the speaker walks or turns. If the church has a sound system, a clean feed from the speaker’s mic channel also works well. Give the vocabulary models a hand by adding pastors’ names as Custom Terms.
Do I need a special microphone to use Live Caption AI?
No special equipment is required. The speaker runs the app on a phone or laptop, and attendees read captions on their own phones through a QR code. A close, clear mic simply gives better results, so a lavalier or headset is a smart upgrade for larger rooms.
How far should the microphone be from the speaker’s mouth?
About 6 to 12 inches for a lavalier or headset mic, according to Canyons College’s handbook. Dictation-style setups go closer, at 10 to 20 cm. Keep it steady so the volume does not rise and fall.
How do I handle audience questions?
Use a second microphone that you pass or carry to the person asking. If you only have one mic, have the speaker repeat each question before answering, so the captions include the question. Penn State’s white paper recommends this approach.
Are transcripts private?
Every session’s transcript is saved automatically to the speaker’s account, and only the speaker can read it. The speaker can delete a transcript from History. Live Caption AI never stores session audio.
Sources
- ASHA Leader: Picking the Right Live-Captioning Option
- U.S. Access Board: Microphone Inputs
- Penn State: Live Captioning in Higher Education white paper
- Canyons College Live Captioning Handbook, November 2025
- UC Berkeley: Checklist for Accessible Events
- Los Angeles Department on Disability: FAQ
- TV Technology: Microphone Acoustic Phase Issues
- Corti: Recommended Microphone Devices
- Recording clear audio at ceremonies